skip to Main Content

Fixing My Broken AutoCrat

I am awful about keeping up with what becomes deprecated by Google (DocsList is now gone and DriveApp must be used instead). Today, some of our district workflow threw errors because we are still using AutoCrat v4.5.5 (4/12/14). I will update over the summer, but for right now, I just wanted to get this installation of the script working. I headed over to the Google Group for Apps Script Issues and found the answer. I am sharing here in hopes it may save you all some searching.

First, make a copy of your sheet (just in case).

If you need help finding out if you are using the same version of AutoCrat as we are, here is how to find that AND how to get to the Script Editor.

version-autocrat-2
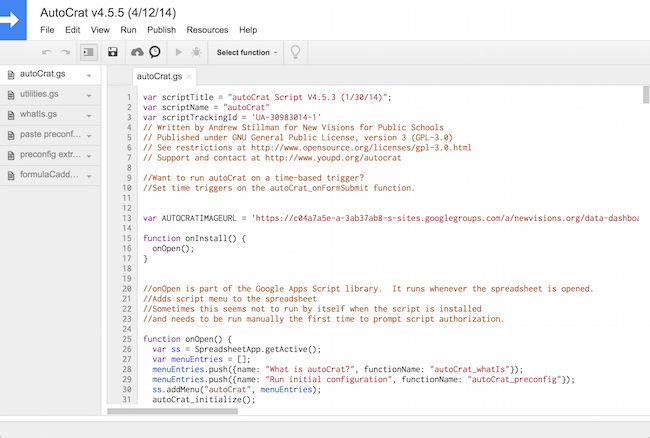
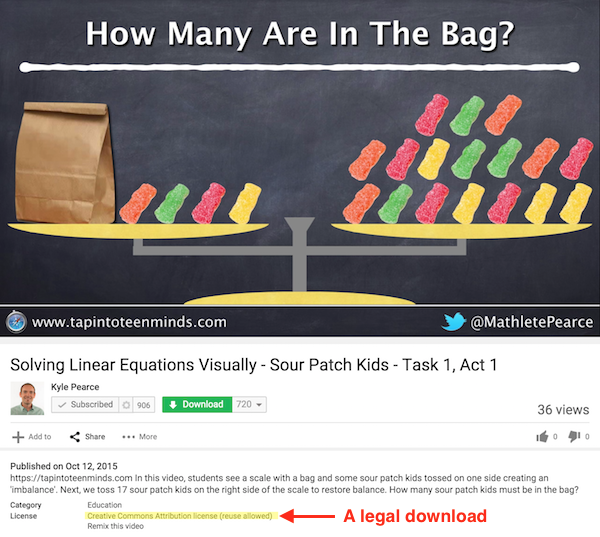
Click image to view larger version in a new window.
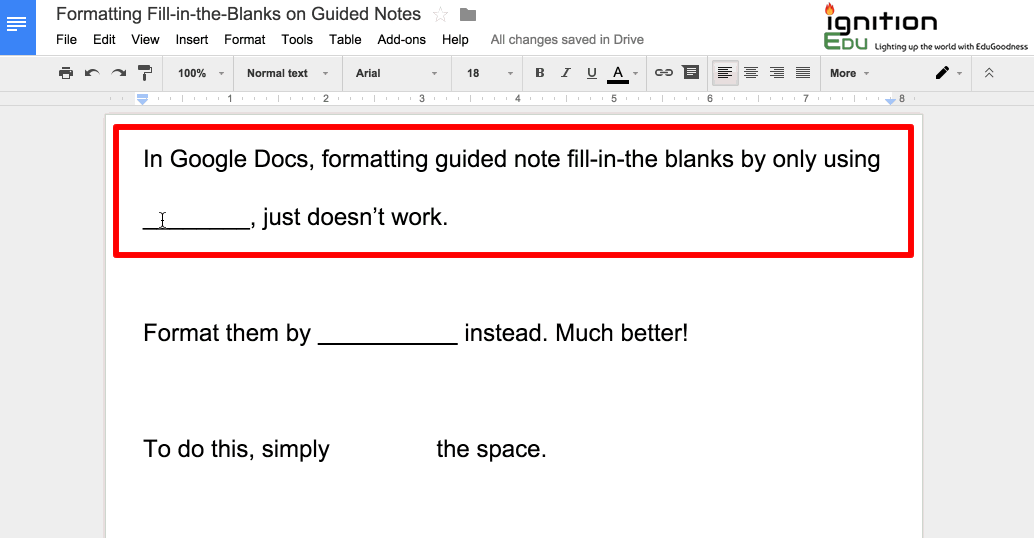
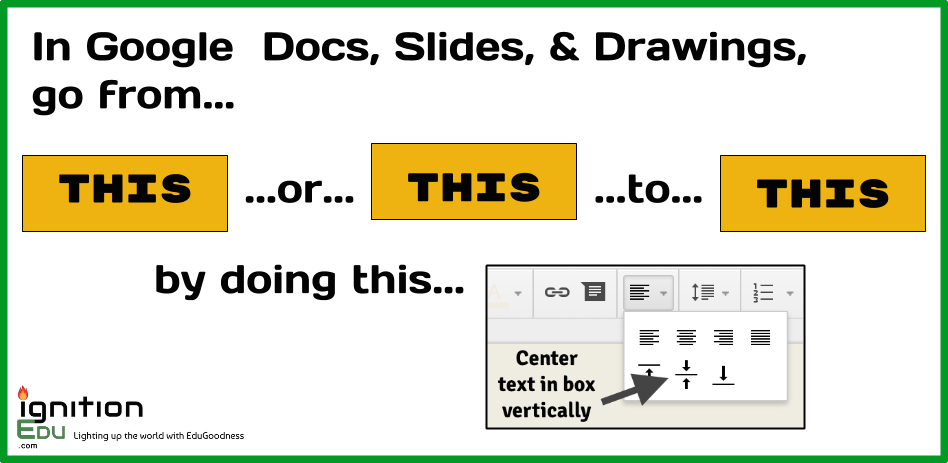
 

In order to fix the script, you are going to be making changes to the code. PROCEED AT YOUR OWN RISK!

Click on the link to AutoCrat in your Script Editor window. It will look like this. Note: the left sidebar lists all the files it takes for AutoCrat to work its magic. 

AutoCrat 1

The Script Editor has a Find & Replace feature which can be found under the Edit menu. NOTE: I get a little nervous doing mass Find & Replace so I used the Find and then made the changes manually.

Find

Here are all the things you need to fix:

  • Replace all instances of docsList with DriveApp
  • Replace all instances (with quotes) of “document” and “DOCUMENT” with MimeType.GOOGLE_DOCS (no quotes)
  • Replace all instances of getFileType with getMimeType
  • Replace all instances of file.addToFolder(folder) with folder.addFile(file) – NOTE: Instead of having the word folder inside the parentheses, I had secondaryFolder so look for that one as well.
  • Replace all instances of file.removeFromFolder(DriveApp.getRootFolder()) to DriveApp.removeFile(file);
  • Replace all instances of pdfFile.removeFromFolder(DriveApp.getRootFolder()) to DriveApp.removeFile(pdfFile);

Save the changes in the Script Editor and try running your AutoCrat merge again.

This worked for me. I hope it works for you as well.

Introduction to Screencasting

I put this module together for one of my graduate school classes and am sharing it here in case it can be helpful for anyone else. I intend to share with the teachers at my school as a flipped element for a PD session on creating screencasts. Not only does it have helpful info about screencasting but it also includes some Visible Thinking routines AND shows how you can push Google Sites a bit.

GO TO:

Introduction to Screencasting

Intro to Screencasting

Google Scholar Button for Chrome

I’ve been spending lots of time in Google Scholar since I began work on my EdD last August. Today, I spotted a new extension for Google Chrome, the Google Scholar Button.

From the extension overview, when you click the Scholar button, you can:

  • Find full text on the web or in your university library. Select the title of the paper on the page you’re reading, and click the Scholar button to find it.
  • Transfer your query from web search to Scholar. Press the Scholar button to see top three results; click “full screen” in the lower left of the popup to see them all.
  • Format references in widely used citation styles. Press the quote button in the popup to see a formatted reference and copy it into the paper you’re writing.

Library links work best when you’re on your campus but you can configure them for off-campus use by visiting Google Scholar Settings. You can even search the US case law by clicking the gear icon at the bottom of the popup, and configure your preferred collection in Google Scholar Settings.

I’m looking forward to the time this handy extension will save me as I complete my degree!

Google Scholar Button

Add a Download Button to YouTube

UPDATE (10-30-2015): Sadly, malware has been added to this extension. Know that if you install it, you will begin to see Offers4U pop up at the bottom of many webpages. So, while I will leave this post up for now, understand that is this price you will pay for the convenience.

You can use websites like KeepVid or SaveFrom to download videos from YouTube and other video sites. You can even add a bookmarklet for some of those websites to your web browser.

I recently installed a download button extension for SaveFrom to my Google Chrome and am finding it very convenient so I thought I would share the steps here.

WARNING: This does require installing an extension from a location outside of the Chrome Web Store so if you aren’t willing to take that risk, this is not for you. I take no responsibility for anything that may happen to your computer by installing this extension. All I can say is that I installed it and my Mac has had no problems. I have NOT tested this on a Chromebook or the Windows OS.

Step 1: Get the extension file. 

Go to http://en.savefrom.net/user.php and click the INSTALL button. This is going to (eventually) download a file to your computer that you will manually install.

Step 1 part 1

You will get an ominous warning screen. Take it seriously when Chrome gives you this. Sometimes it doesn’t let you bypass the warning but here it does. Click on the link labeled “Details” and you will see the screen below. Click the “visit this site” link and then close the warning at the top of the screen.

Step 1 part 2

If this warning opened up in a new tab for you, you can now just close the tab. If not, you may need to reload the http://en.savefrom.net/user.php page again and may need to click the “Install” button again as well.

At some point you will see a screen like this one. It shows the steps for installing (which I’m going to explain next) and you can see the file has been downloaded to  my computer.

Step 1 part 3

Step 2: Manually install the extension.

Open up the “Customize” icon and choose Tools > Extensions.

Step 2 part 1

This process requires that Google Chrome be in Developer Mode. To turn on Developer Mode, look to the top right of the Extensions page to see a check box labeled “Developer mode.” If it is not already checked, click the box to set Chrome in Developer Mode.

developer mode

Open up a window on your computer and find the downloaded file. As of the writing of this post, the file is called “helper_last.crx”.

To install the extension, drag the CRX file onto the Extensions window and release.

Step 2 part 2

An alert window will drop down. Click the “Add” button.

Step 2 part 3

You should now see a message that the installation was successful.

Step 2 part 4

Step 3: Adjust extension options.

Find the extension on the Extensions page and click the “Options” link.

step 3

Here you can modify which sites have access to the extension. You could leave the default settings but I don’t use some of these sites and the least amount of access I give an independent extension, the better (IMHO).

Here are the preference options I currently have set.

Step 3 part 2

Step 4: Test the extension.

Go to a website you have given access to the extension. In my case, that would either be YouTube or Vimeo.

Want to find legal downloads on YouTube? Here is a video explaining how to find Creative Commons videos on YouTube.

Need one? Try this video by the talented Kyle Pearce: Solving Linear Equations Visually.

You should now see a green download button under the video. To the right of the download button is a small drop-down menu which allows you to select a different quality for downloading (the higher the number, the better the quality).

Step 4

Why download videos?

There could be any number of reason you may choose to download a video but here are some.

  • YouTube is blocked at school and you want to show a video to your students.
  • You only want to use a portion of the video or want to combine multiple videos.
  • Try removing the audio from the video and have your students create their own narration.

Looking for more ideas for original video projects? Check out some of these links:


Changes Coming to Google Educator Certification Program

Google Kool-Aid Yum!Since I attended the Google Teacher Academy in December, 2014, I have done everything possible to spread the word about the various certifications Google offers related to Google in Education. I had been a “Google Qualified Individual” and then that program changed to “Google Educator”. I went through that process and learned so much about Google Apps for Education in the process. I then applied to the “Google Education Trainer” program and was accepted. I hold training sessions for the teachers at my school as well as present at conferences. Following the GTA in Austin, TX, I was able to add “Google Certified Teacher” to my list of recognitions (although I didn’t do it for the label).

I got the information below yesterday and am passing it on to anyone interested, mainly because I have been doing sessions at conferences about getting certified and this changes a good chunk about what I have been sharing. Specifics haven’t been released yet and it appears that they won’t be until June. I’m not sure what I’m going to do about the certification sessions I have planned in the meantime but, hey, Google is all about change. Anyone who can’t go with the flow of “launch early and iterate” may want to stick with Office 365. LOL!

<speculation>I expect that the changes are coming because we hear rumors that the Google Certified Teacher label is going to be changed to something like Google Certified Educator to make clear that it also includes school administrators and support staff. If that IS the new label, it would definitely be confusing to also have Google Educator floating around out there.</speculation>

So, here is the bulk of the email I got on the topic. I know no more than what is here. I anxiously await more details about the changes.

This from Google:

We are currently updating our certification programs to provide a better learning and assessment experience for educators and people who train educators. The content in the exams will remain the same so please continue to use the learning material available at google.com/edu/training to prepare. The main change will be in the name of the certificate.

If you have purchased the exams as a step to become a trainer, you do not need to worry about any changes to the certificate. However, if you have purchased the exams in order to become a Google Educator, we’d like to share some important dates given the certificate name change:

April 7 – Final date for individuals to purchase new exams. All exams already purchased will continue to count toward a certificate. If you have started your certification but have not purchased all of the exams needed, please purchase them before this date.

June 27 – Final date to complete all 5 exams in order to achieve a “Google Educator” certificate.

June 28 – Any exams passed on or after this date will count toward a new training certificate. The name is still to be determined.

As a reminder, in order to achieve a certificate, you need to pass the 4 required exams (Gmail, Drive & Docs, Calendar, Sites) and a minimum of 1 other elective, such as Chrome. If you begin your exams between April 1st and June 28th, you will have 180 days to complete the full set (extended from 90 days to account for the time the exams are unavailable).

Any exams completed after June 28th will still achieve a training certificate that is valid for 18 months. This training certificate will meet the requirement for those applying to become Google Education Trainers, but the certificate will not be called “Google Educator”.

In summary:

  • If you’d like to receive a certificate that says “Google Educator”, you need to pass all 5 exams by June 27th, 2015.
  • If you’re taking the exams to become a trainer OR you don’t care whether the certificate says “Google Educator” or another training certificate, then you can take the exams whenever it’s convenient for you.
  • If you fail an exam, you will not be able to purchase a new exam until June 28. However, we will be extending the certification period to 180 days which should give you enough time to retake the exam. If this isn’t enough time, please contact us.

Questions? Email gfe-certifications@google.com

FAQs

1. What do I need to do to achieve my certificate?

You need to pass the 4 required exams (Gmail, Drive & Docs, Calendar, Sites) and a minimum of 1 other elective, like Chrome or Chromebooks. Once you pass the first exam, you have 90 days to complete the other 4 exams in order to achieve the certificate.

2. If the exam content changing – do I need to study something different?

No. The product exams will continue to reflect the content available in the current Learning Center at google.com/edu/training.

3. What happens if I pass all 5 exams on or after June 28?

You will achieve a valid Google for Education training certificate, but it will not be called “Google Educator”. It will still be considered a prerequisite for applying to the Google for Education trainer program.

4. How long does my certificate last?

All certificates expire after 18 months.

5. I am taking these exams to become a trainer, what should I be worried about?

Nothing! The content in the exams will continue to be targeted towards individuals who want to deliver Google for Education product training to others and the exams will still be prerequisites for applying to the Google for Education trainer program.

6. I am taking these exams to get certified as a Google Educator, what should I be worried about?

As long as you pass 5 exams by June 27, you be certified as a “Google Educator”. If you’re unable to to complete by this date, you will still receive a valid Google for Education training certificate. This certificate will identify you as an expert in Google for Education products, but will not be called “Google Educator”.

7. What will be the name of the new certificate?

The name of the certificate will be announced at the end of June. Because the content in the Learning Center has been historically focused on product training, the certificate will be geared for those who deliver training.

Back To Top